Configuring Malicious Signatures
The Malicious Signature table lets you configure up to 20 Malicious Signature patterns. Malicious Signatures are signature patterns that identify SIP user agents (UA) who perform malicious attacks on SIP servers by SIP scanning. Malicious Signatures allow you to protect SBC calls handled by the device from such malicious activities, thereby increasing your SIP security. The Malicious Signature patterns identify specific scanning tools used by attackers to search for SIP servers in the network. The feature identifies and protects against SIP (Layer 5) threats by examining new inbound SIP dialog messages. Once the device identifies an attack based on the configured malicious signature pattern, it marks the SIP message as invalid and discards it or alternatively, rejects it with a SIP response (by default, 400), configured in the Message Policies table (see Configuring SIP Message Policy Rules). Protection applies only to new dialogs (e.g., INVITE and REGISTER messages) and unauthenticated dialogs.
Malicious signatures can also be used with the Intrusion Detection System (IDS) feature (see Configuring IDS Policies). You can configure an IDS Policy that is activated if the device detects a malicious signature (when the 'Reason' parameter is configured to Dialog establishment failure).
Malicious signature patterns are typically based on the value of SIP User-Agent headers, which attackers use as their identification string (e.g., "User-Agent: VaxSIPUserAgent"). However, you can configure signature patterns based on any SIP header. To configure signature patterns, use the same syntax as that used for configuring Conditions in the Message Manipulations table (see Configuring SIP Message Manipulation). Below are configured signature patterns based on the User-Agent header:
| ■ | Malicious signature for the VaxSIPUserAgent malicious UA: |
header.user-agent prefix 'VaxSIPUserAgent'
| ■ | Malicious signature for the scanning tool "sip-scan": |
header.user-agent prefix 'sip-scan'
By default, the table provides preconfigured malicious signatures of known, common attackers.
| ● | Malicious Signatures do not apply to the following: |
| ✔ | Calls from IP Groups where Classification is by Proxy Set. |
| ✔ | In-dialog SIP sessions (e.g., refresh REGISTER requests and re-INVITEs). |
| ✔ | Calls from users that are registered with the device. |
| ● | If you delete all the entries in the table, when you next restart the device, the table is populated again with all the default signatures. |
You can export / import Malicious Signatures in CSV file format to / from a remote server through HTTP, HTTPS, or TFTP. To do this, use the following CLI commands:
(config-voip)# sbc malicious-signature-database <export-csv-to | import-csv-from> <URL>
To apply malicious signatures to calls, you need to enable the use of malicious signatures for a Message Policy and then assign the Message Policy to the SIP Interface associated with the calls (i.e., IP Group). To configure Message Policies, see Configuring SIP Message Policy Rules.
The following procedure describes how to configure Malicious Signatures through the Web interface. You can also configure it through ini file [MaliciousSignatureDB] or CLI (configure voip > sbc malicious-signature-database).
| ➢ | To configure a Malicious Signature: |
| 1. | Open the Malicious Signature table (Setup menu > Signaling & Media tab > SBC folder > Malicious Signature). |
| 2. | Click New; the following dialog box appears: |
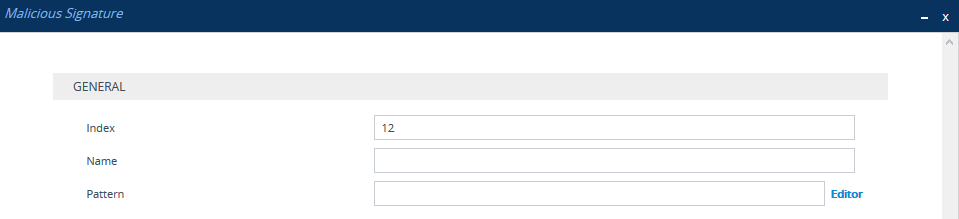
| 3. | Configure a Malicious Signature according to the parameters described in the table below. |
| 4. | Click Apply. |
Malicious Signature Table Parameter Descriptions
|
Parameter |
Description |
|---|---|
|
'Index' [Index] |
Defines an index number for the new table row. Note: Each row must be configured with a unique index. |
|
'Name' name [MaliciousSignatureDB_Name] |
Defines a descriptive name, which is used when associating the row in other tables. The valid value is a string of up to 30 characters. Note: Configure each row with a unique name. |
|
'Pattern' pattern [MaliciousSignatureDB_Pattern] |
Defines the signature pattern. The valid value is a string of up to 60 characters. You can use the built-in syntax editor to help you configure the field. Click the Editor button located alongside the field to open the Editor, and then simply follow the on-screen instructions. Note: The parameter is mandatory. |